Cooking with Toti
cookingwithtoti.com/recipes/no-bake-coffee-biscuit-dream-cake
No-Bake Coffee Biscuit Dream Cake
Coffee-soaked biscuits, mascarpone cream, and a fluffy chocolate topping — no oven needed.
Time
30 min + overnight chill
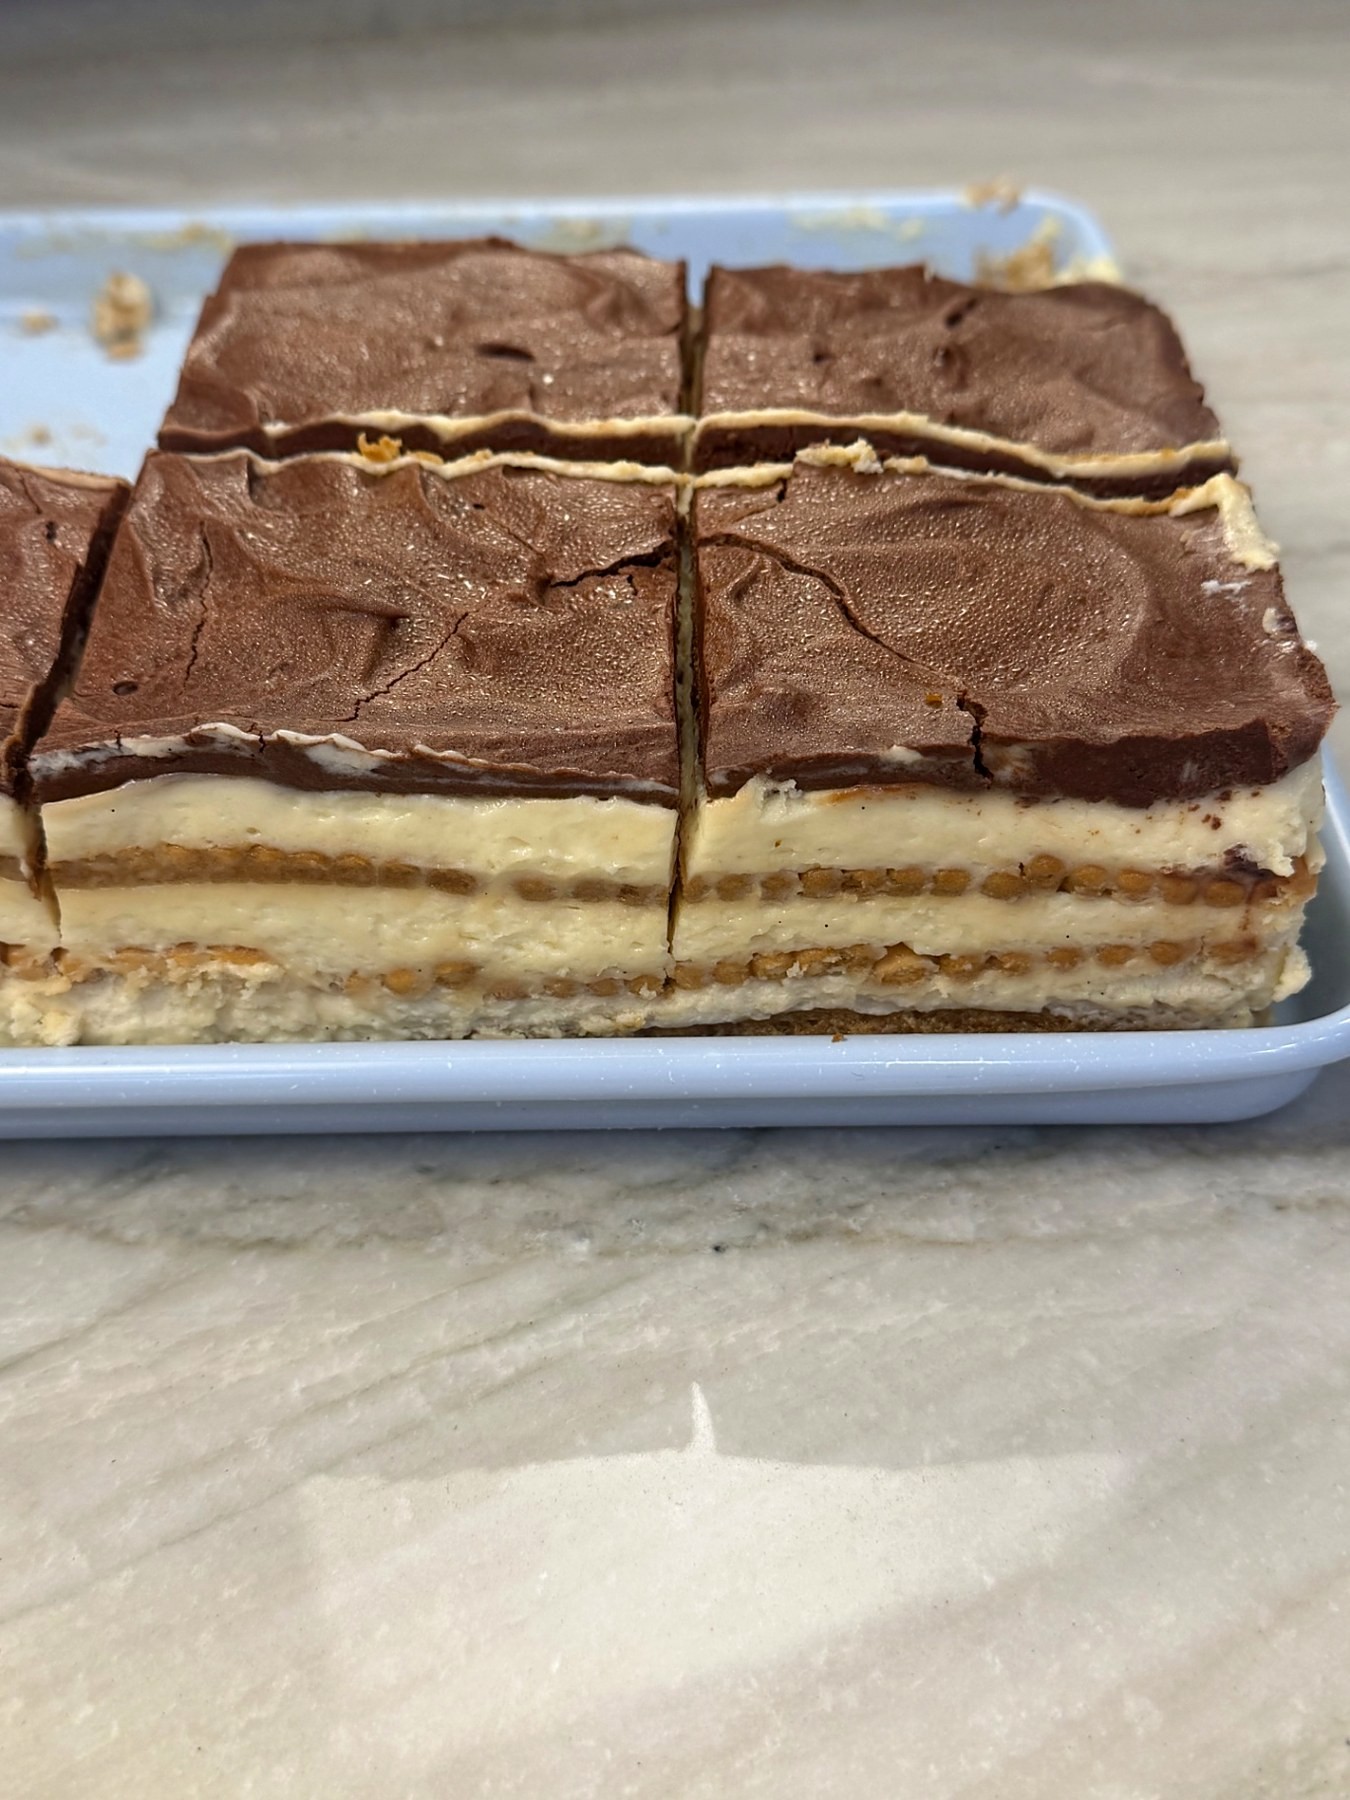
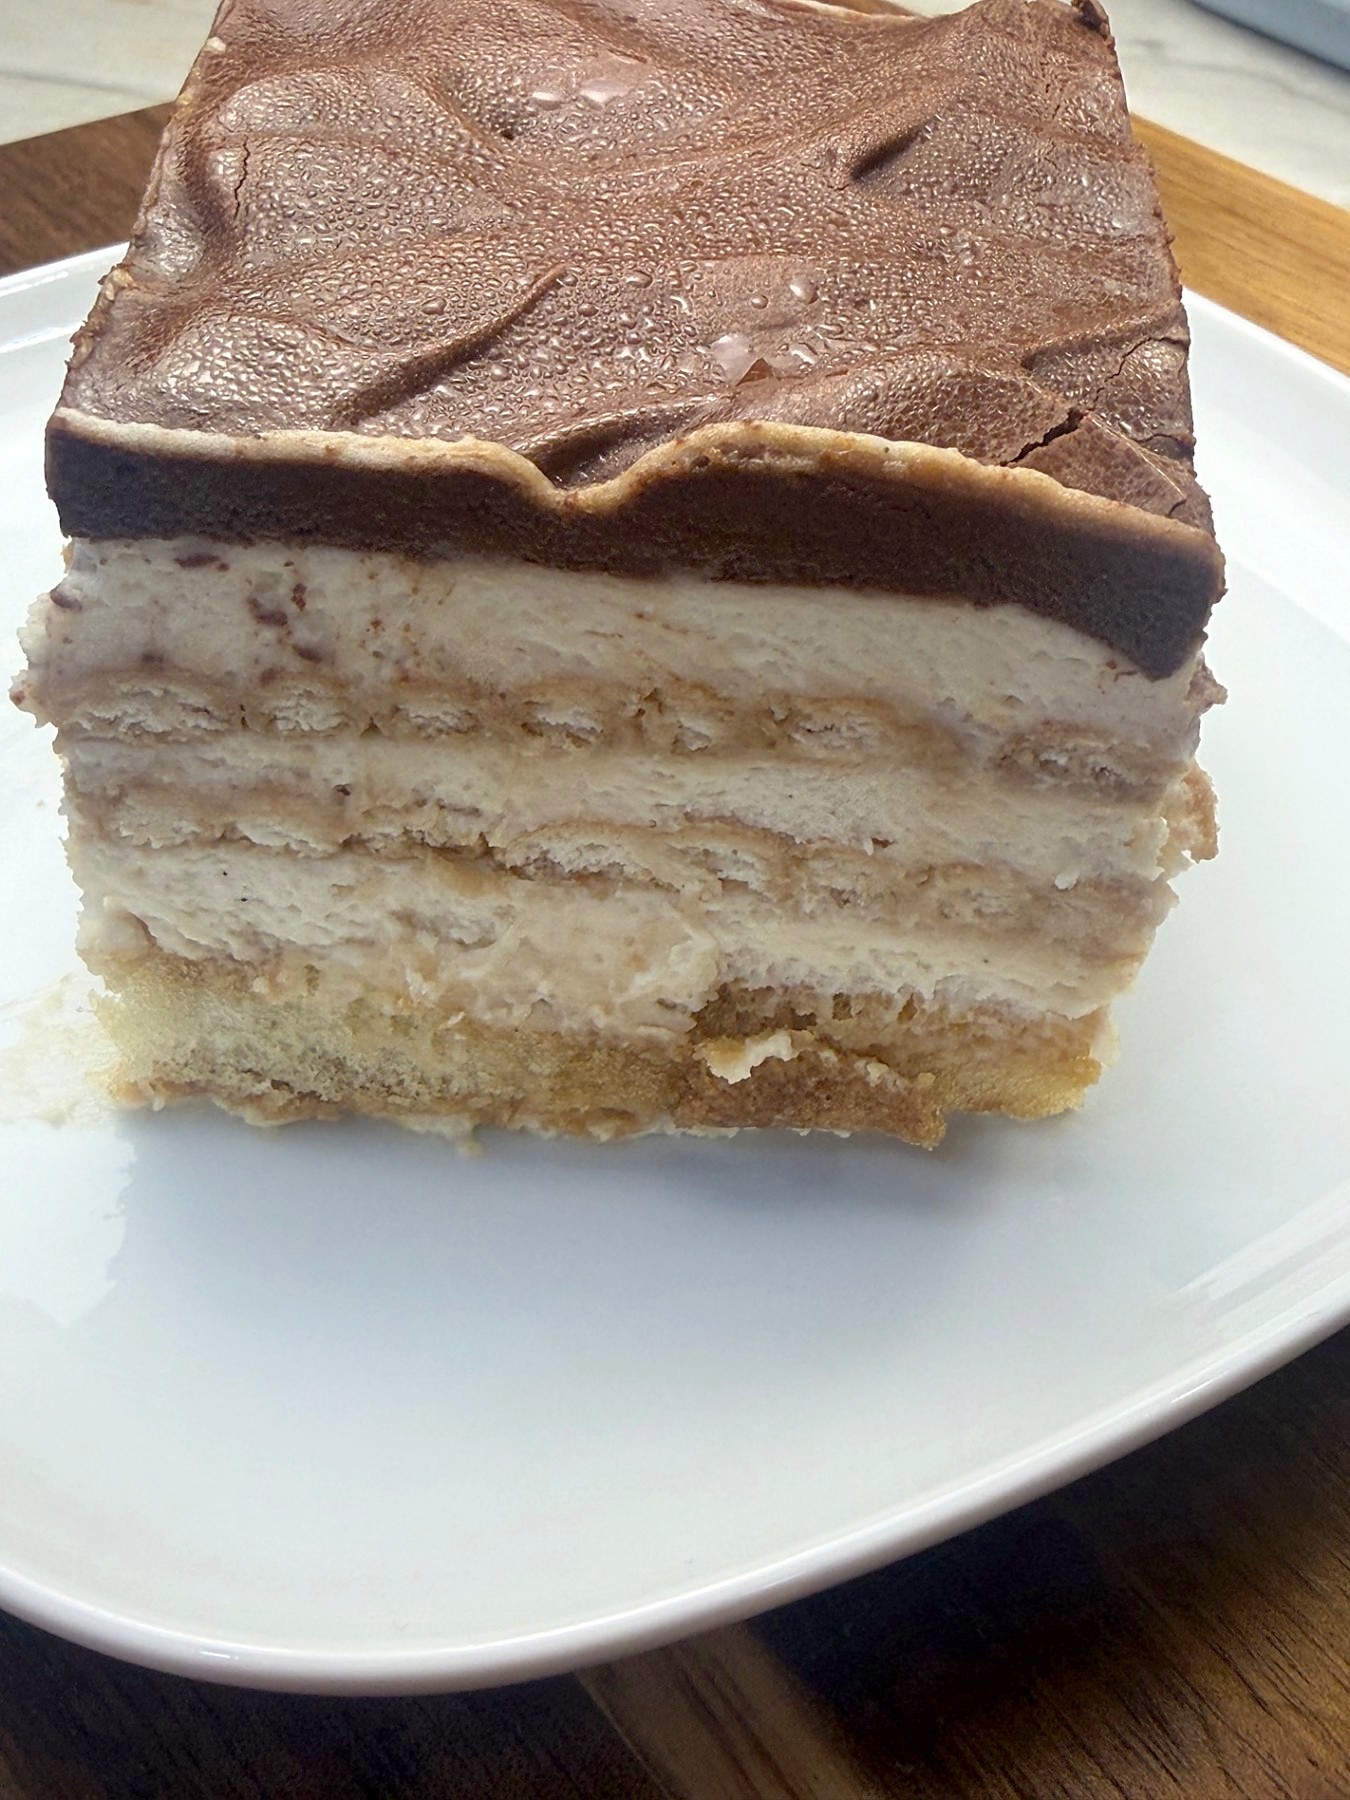
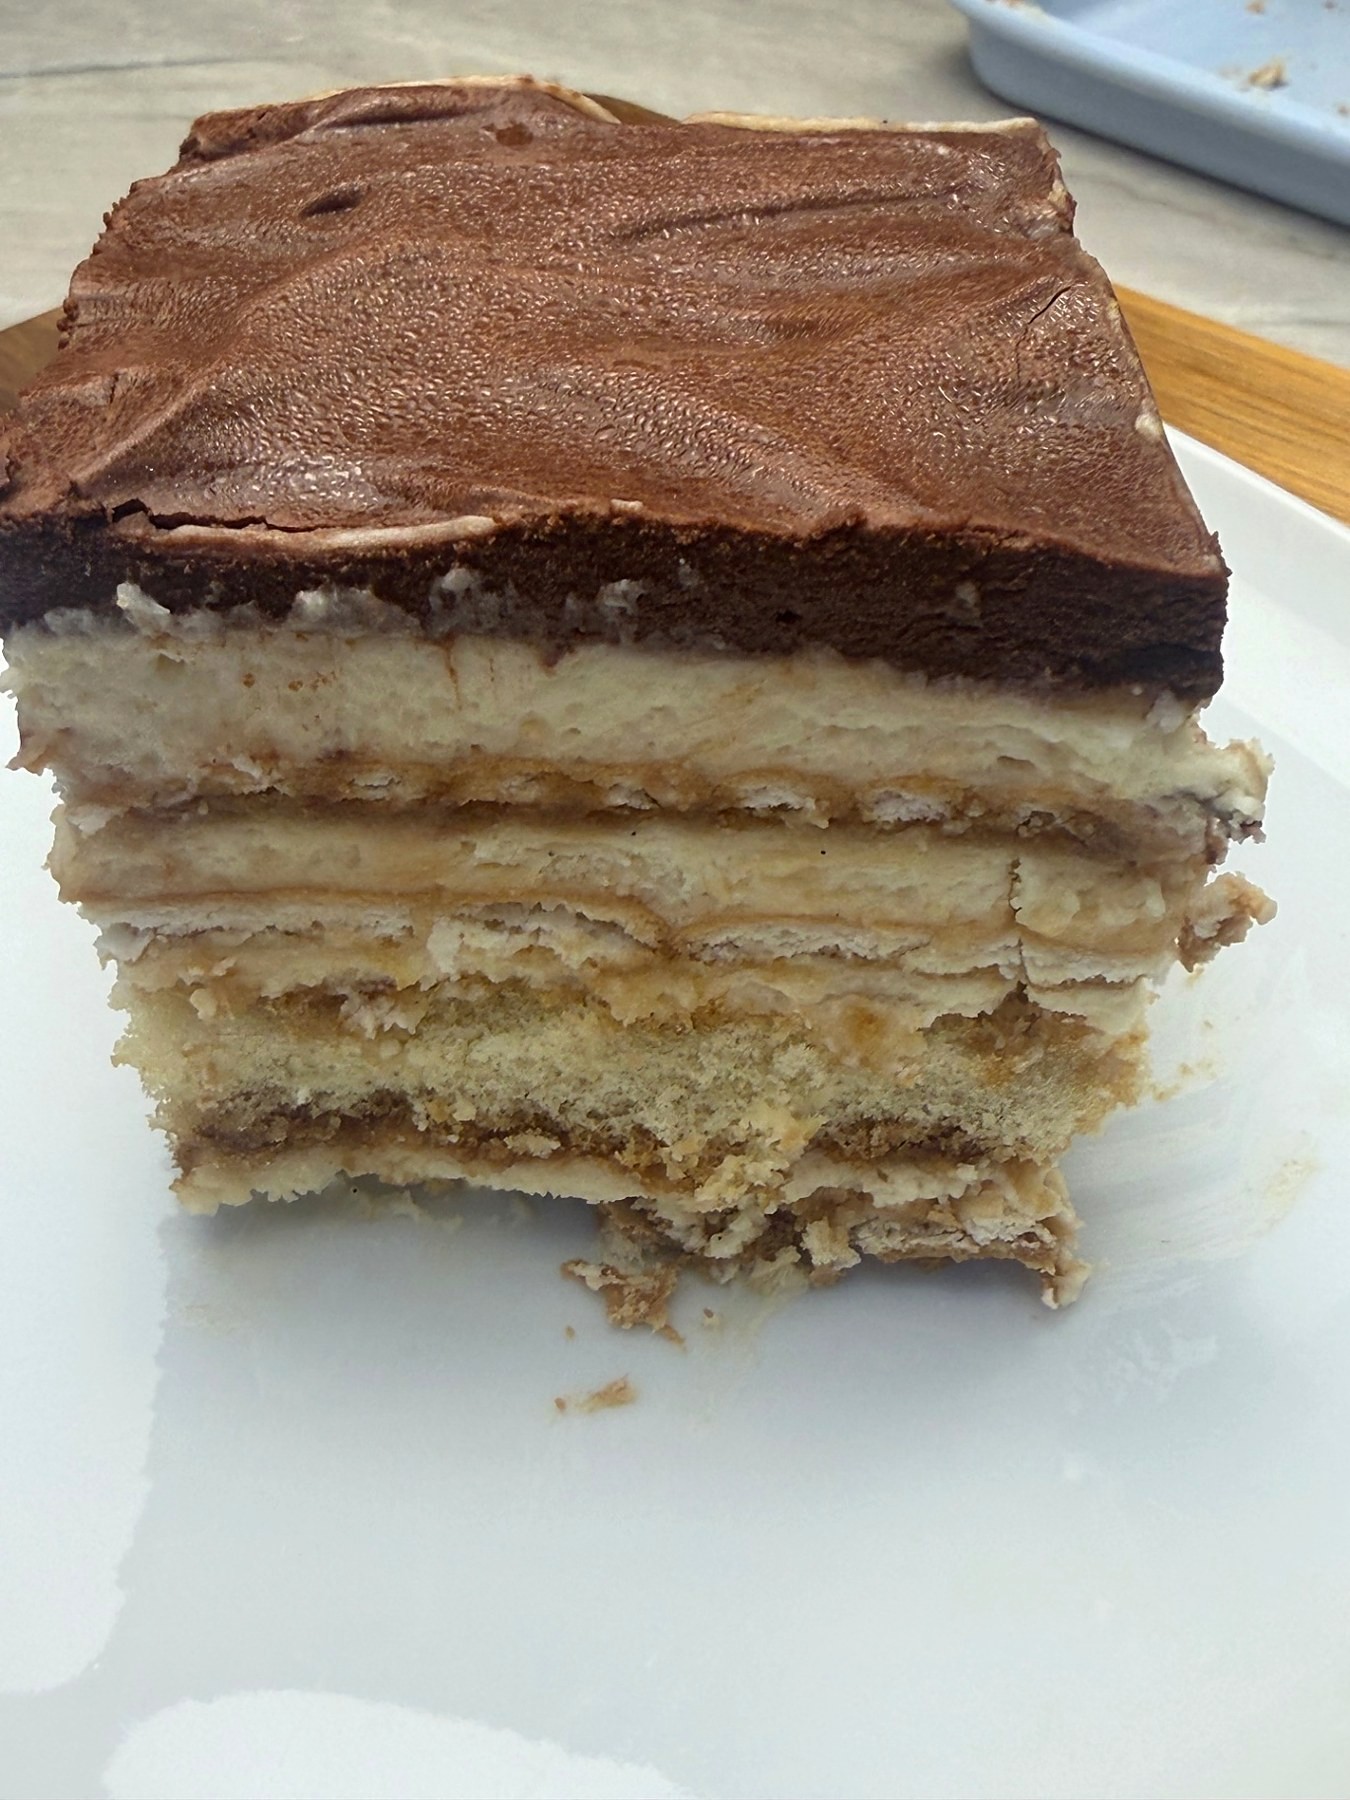
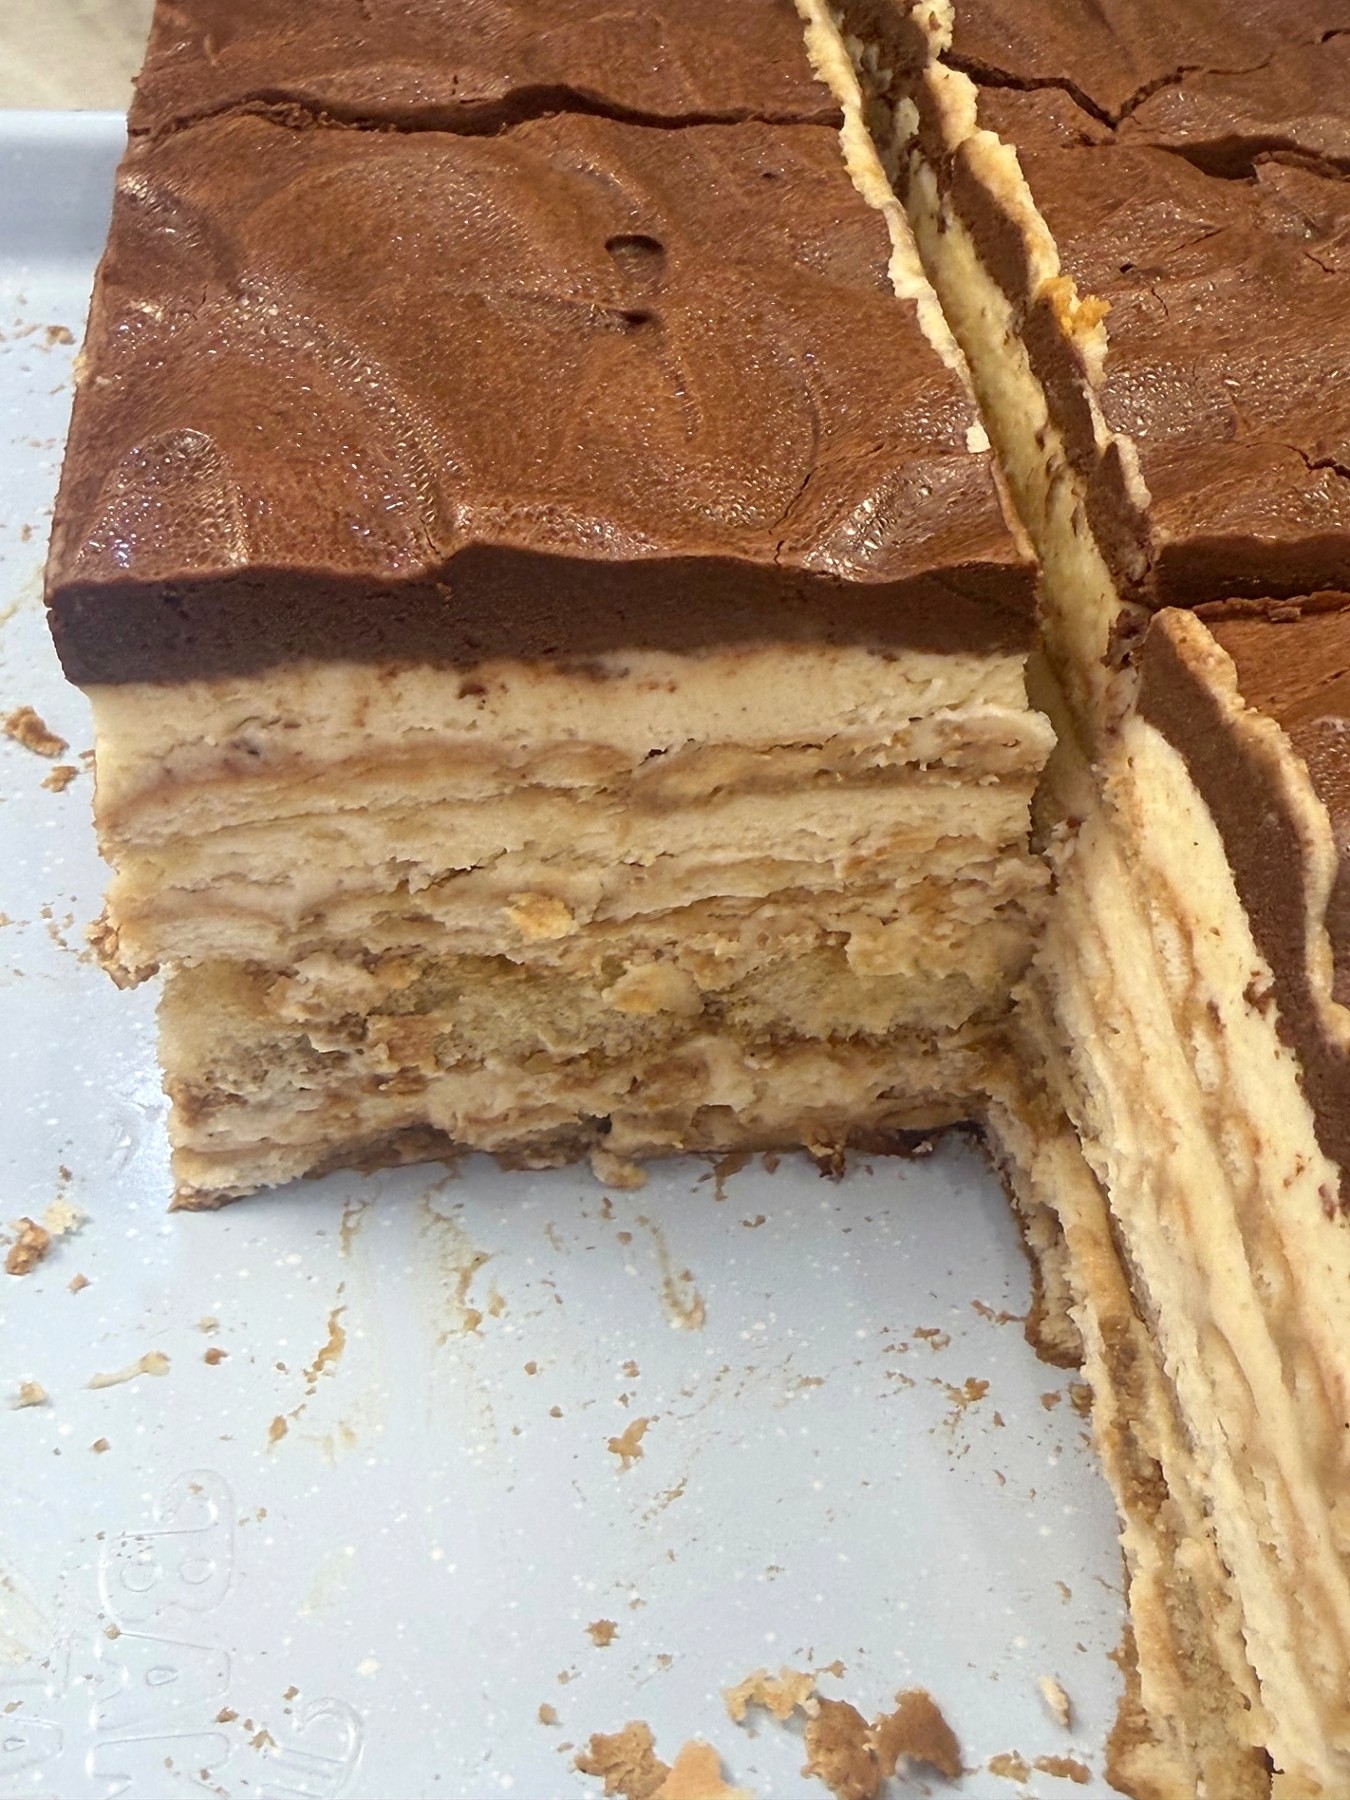
Light, creamy, and incredibly easy. I made this for my daughter's graduation party and everyone kept asking for the recipe — coffee and mascarpone cream layered between coffee-soaked biscuits and ladyfingers, topped with a light chocolate cream. Just assemble, refrigerate overnight, and enjoy.
Instructions
- 1
Mix the cooled espresso with the Kahlúa, if using. Set aside.
- 2
Whip the heavy cream until soft peaks form. In another bowl, mix the mascarpone, sweetened condensed milk, and cooled coffee until smooth. Fold the whipped cream into the mascarpone mixture until light and fluffy.
- 3
Quickly dip each biscuit into the coffee mixture and arrange a layer on the bottom of a springform pan. Spread a layer of cream, add a layer of coffee-dipped ladyfingers, then more cream. Keep alternating until you reach your desired height, finishing with cream.
- 4
Heat the ½ cup heavy cream until hot but not boiling and pour over the chopped dark and milk chocolate. Let sit a minute, then stir smooth. Whip with a hand mixer 1–2 minutes until lighter and creamier.
- 5
Whip the remaining 1 cup heavy cream and fold it into the chocolate mixture until smooth and fluffy. Spread evenly over the cake.
- 6
Refrigerate overnight, or at least 8 hours. Remove the springform ring before serving.
Toti’s Tips
- ✓Dip the biscuits and ladyfingers quickly rather than soaking them, so they absorb just enough coffee to soften without falling apart when you lift them into the pan.
- ✓Whip the cream to soft peaks before folding it into the mascarpone mixture — this keeps the filling light and airy instead of dense and heavy under the weight of the layers.
- ✓A springform pan lets you release the sides cleanly once everything is set, which matters here since the cake is too soft to lift out of a regular pan.
- ✓Heat the cream just to hot, not boiling, before pouring it over the chocolate — boiling liquid can scorch the chocolate and make the ganache grainy instead of silky.
- ✓Combining dark and milk chocolate in the topping keeps it from being too sweet or too intense, similar to balancing flavors in a ganache.
- ✓Chill overnight rather than just a few hours, since the layers need that time to firm up enough to hold together when sliced, and the flavors deepen as they sit.
Storage
- •Keep refrigerated.
More photos
Get my free e-book — 7 quick & easy dinners + 3 sweet bonus desserts
The weeknight dinners my kids actually ask for seconds of, plus the sweet treats — with photos from my own kitchen.
Free PDF · Unsubscribe anytime