Cooking with Toti
cookingwithtoti.com/recipes/pumpkin-dinner-rolls
Pumpkin-Shaped Pumpkin Buns
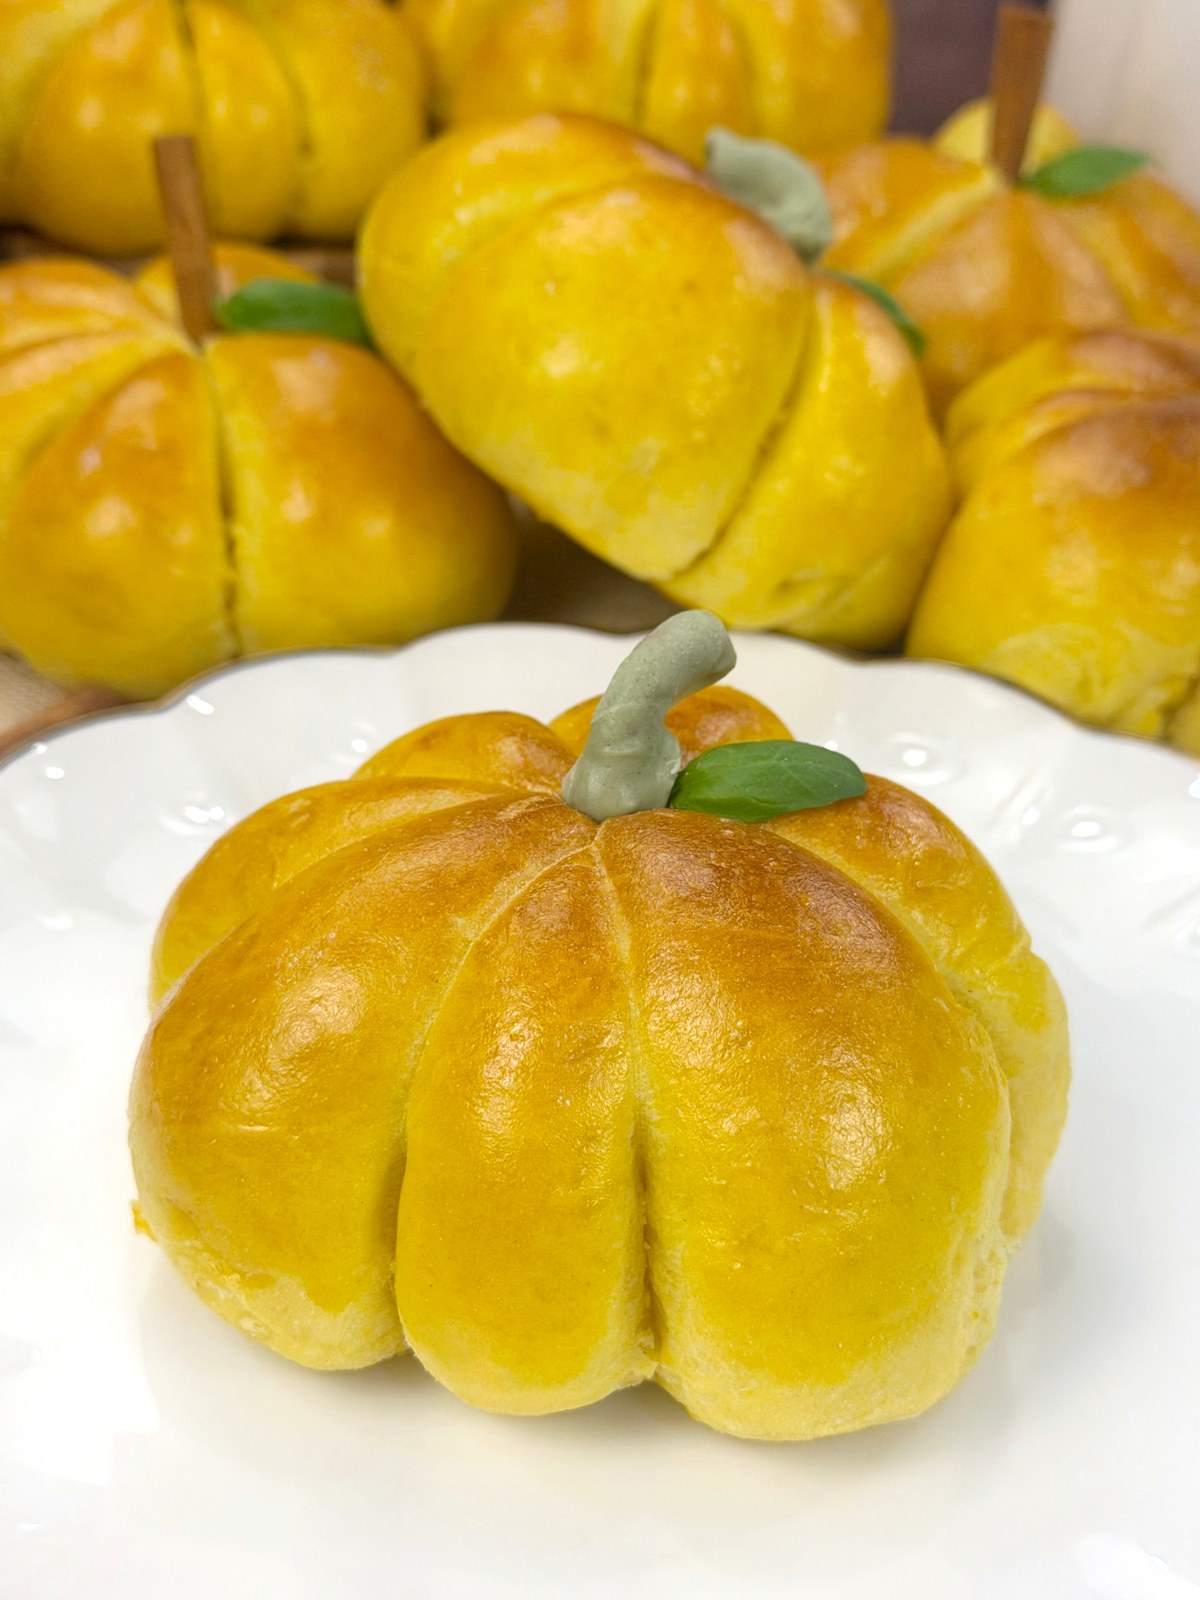
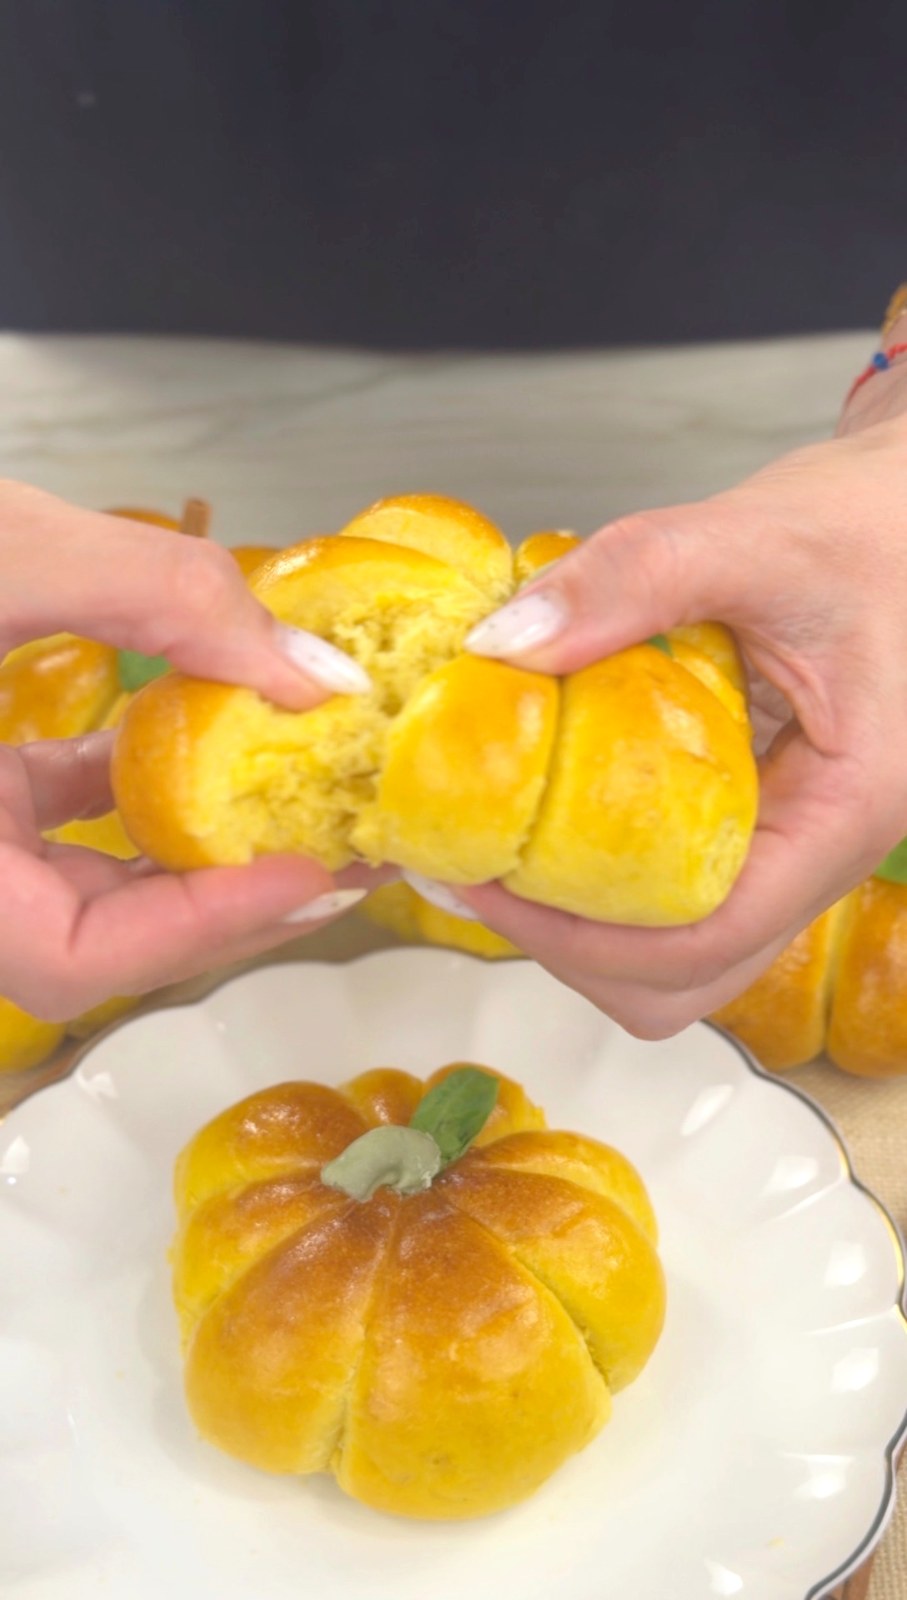
Soft, fluffy, lightly sweet pumpkin yeast rolls made with real pumpkin purée in the dough — tied with kitchen twine so they bake up looking like little pumpkins.
Serves
About 10 buns
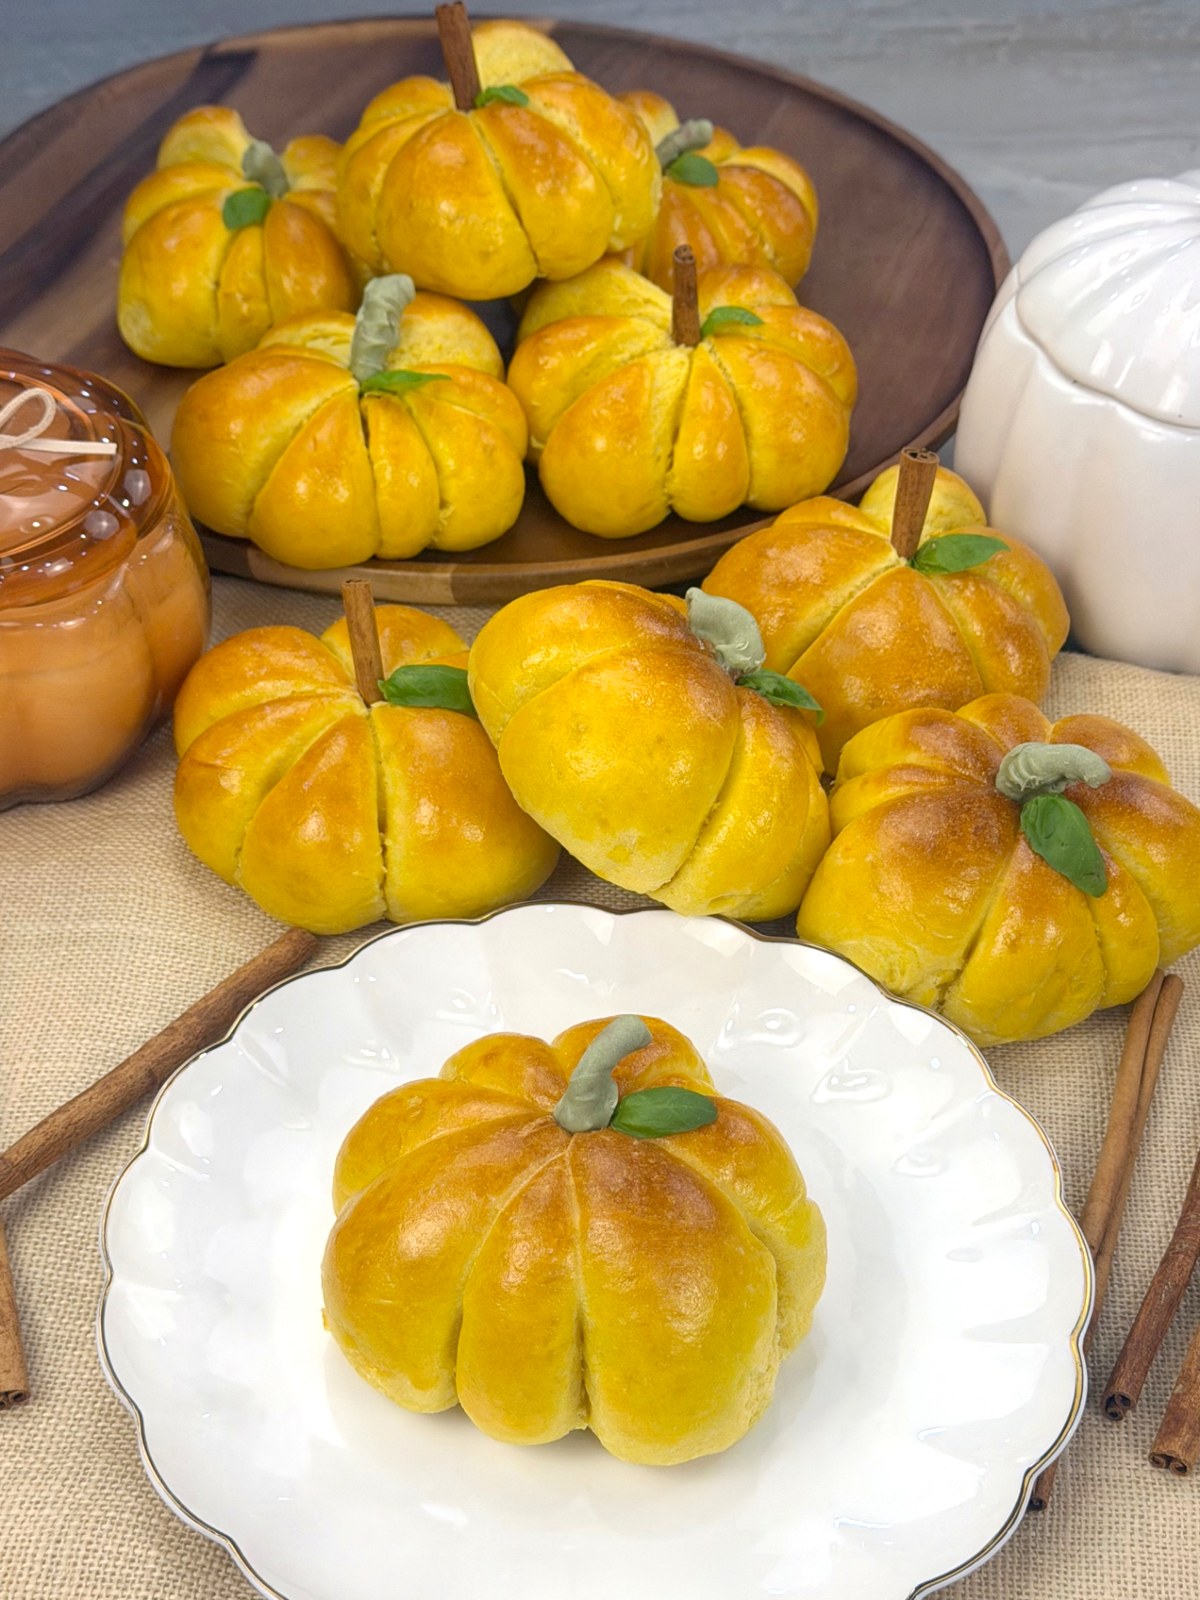
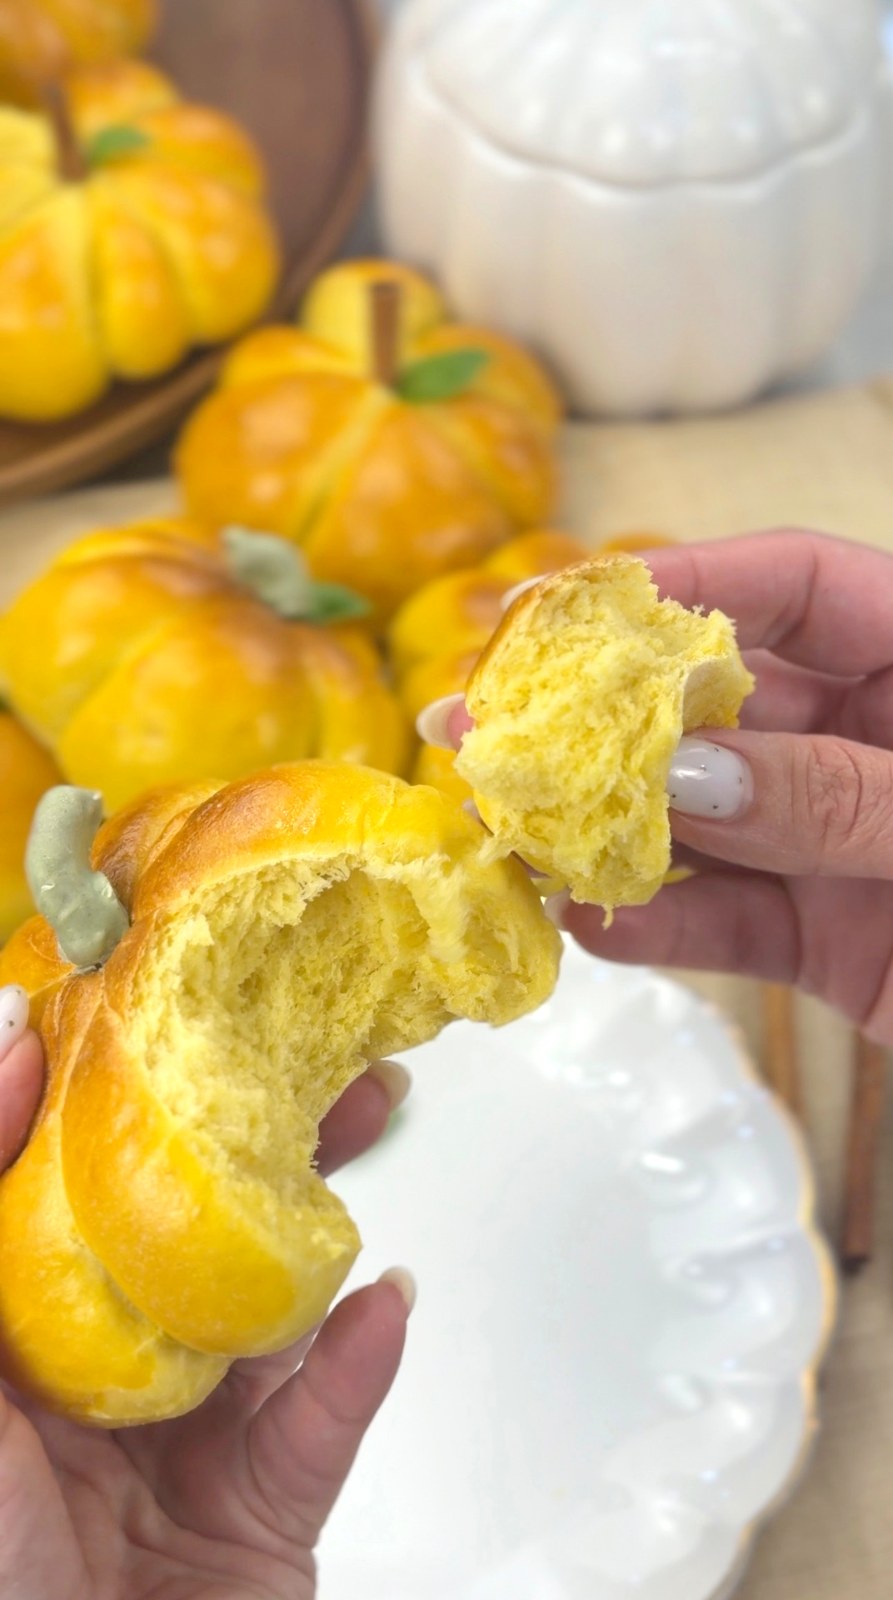
These pumpkin-shaped buns are soft, fluffy, lightly sweet, and made with real pumpkin purée right in the dough. They have a beautiful golden color and just enough sweetness from the honey and vanilla sugar without tasting like dessert. I personally love kneading dough by hand — working with dough relaxes me, and it's simply the way I enjoy making it. But you can absolutely use a stand mixer with a dough hook instead. Either method works — the most important thing is to keep the dough soft and not make it too firm. And of course, shaping them like little pumpkins makes them perfect for fall.
Instructions
Activate the Yeast
- 1
Pour the lukewarm milk into a bowl. Add the yeast, honey, and oil.
- 2
Stir everything together and let it sit until the yeast begins to activate and becomes foamy.
- 3
If you don't want to use honey, you can substitute sugar.
Prepare the Flour
- 1
Sift part of the flour into a large mixing bowl and add the salt. Do not add all of the flour at once.
- 2
The exact amount can vary depending on the flour you use and how thick your pumpkin purée is, so add the remaining flour gradually.
Make the Dough
- 1
Pour the activated milk and yeast mixture into the bowl with the flour.
- 2
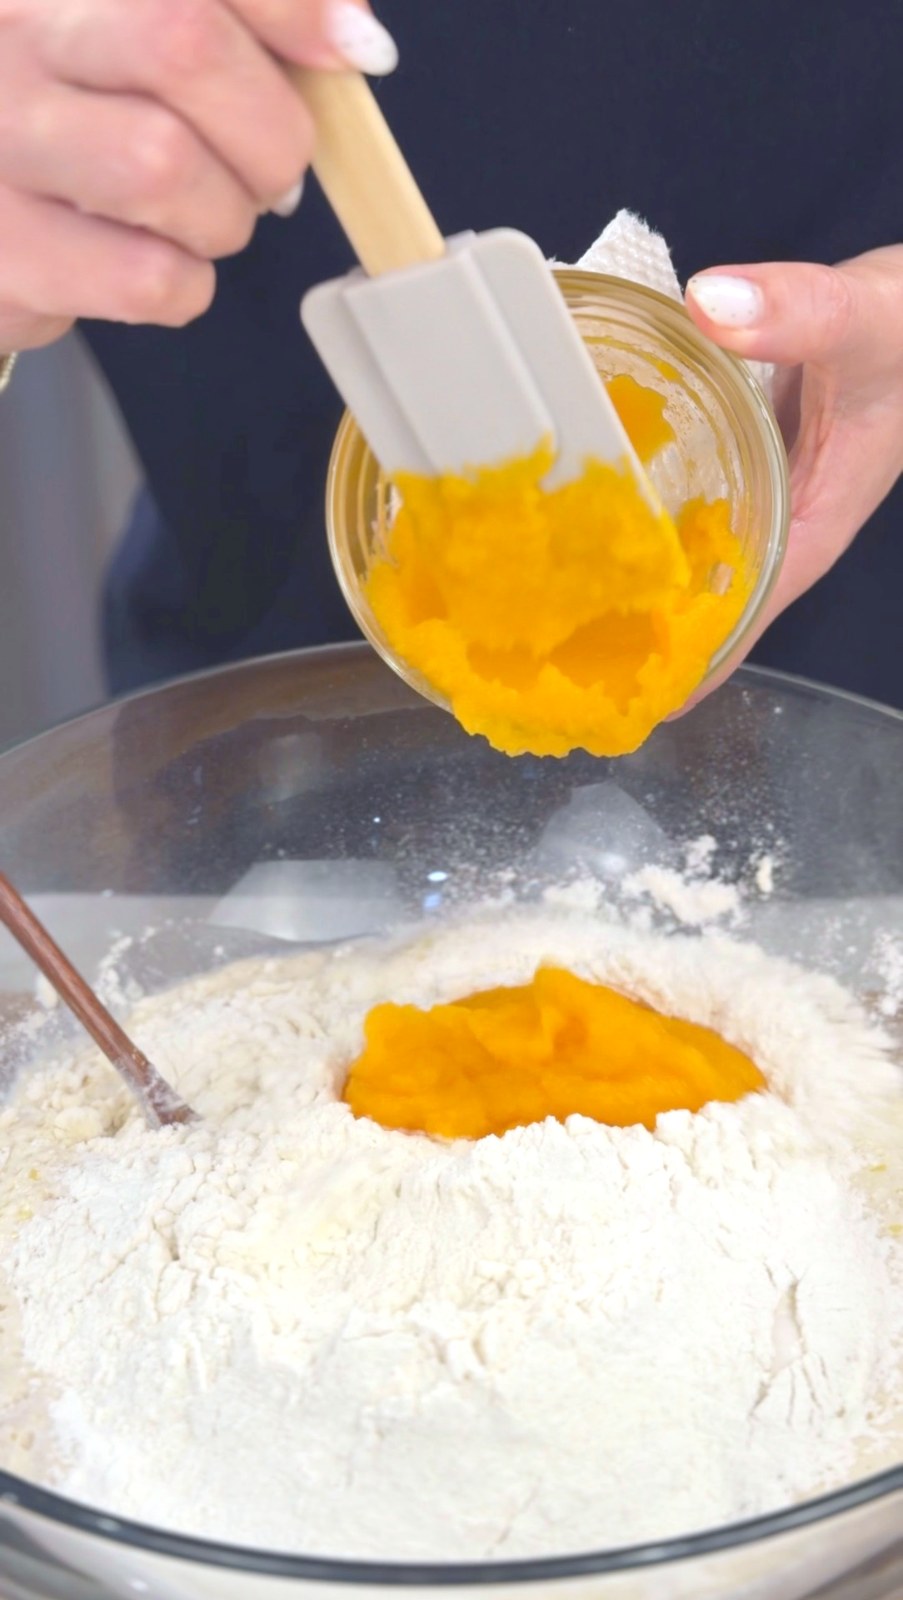
Add the eggs, butter, vanilla sugar, and ½ cup pumpkin purée, and begin mixing everything together.
- 3
Gradually add more sifted flour until a soft dough forms. Do not make the dough hard or dry.
Knead the Dough
- 1
Knead the dough by hand or with a stand mixer fitted with a dough hook. I personally always knead by hand — I love working with dough, it relaxes me — but a mixer works perfectly too.
- 2
Whichever method you choose, be careful not to overwork the dough or keep adding flour until it becomes stiff. You are looking for a soft, smooth dough.
Let the Dough Rise
- 1
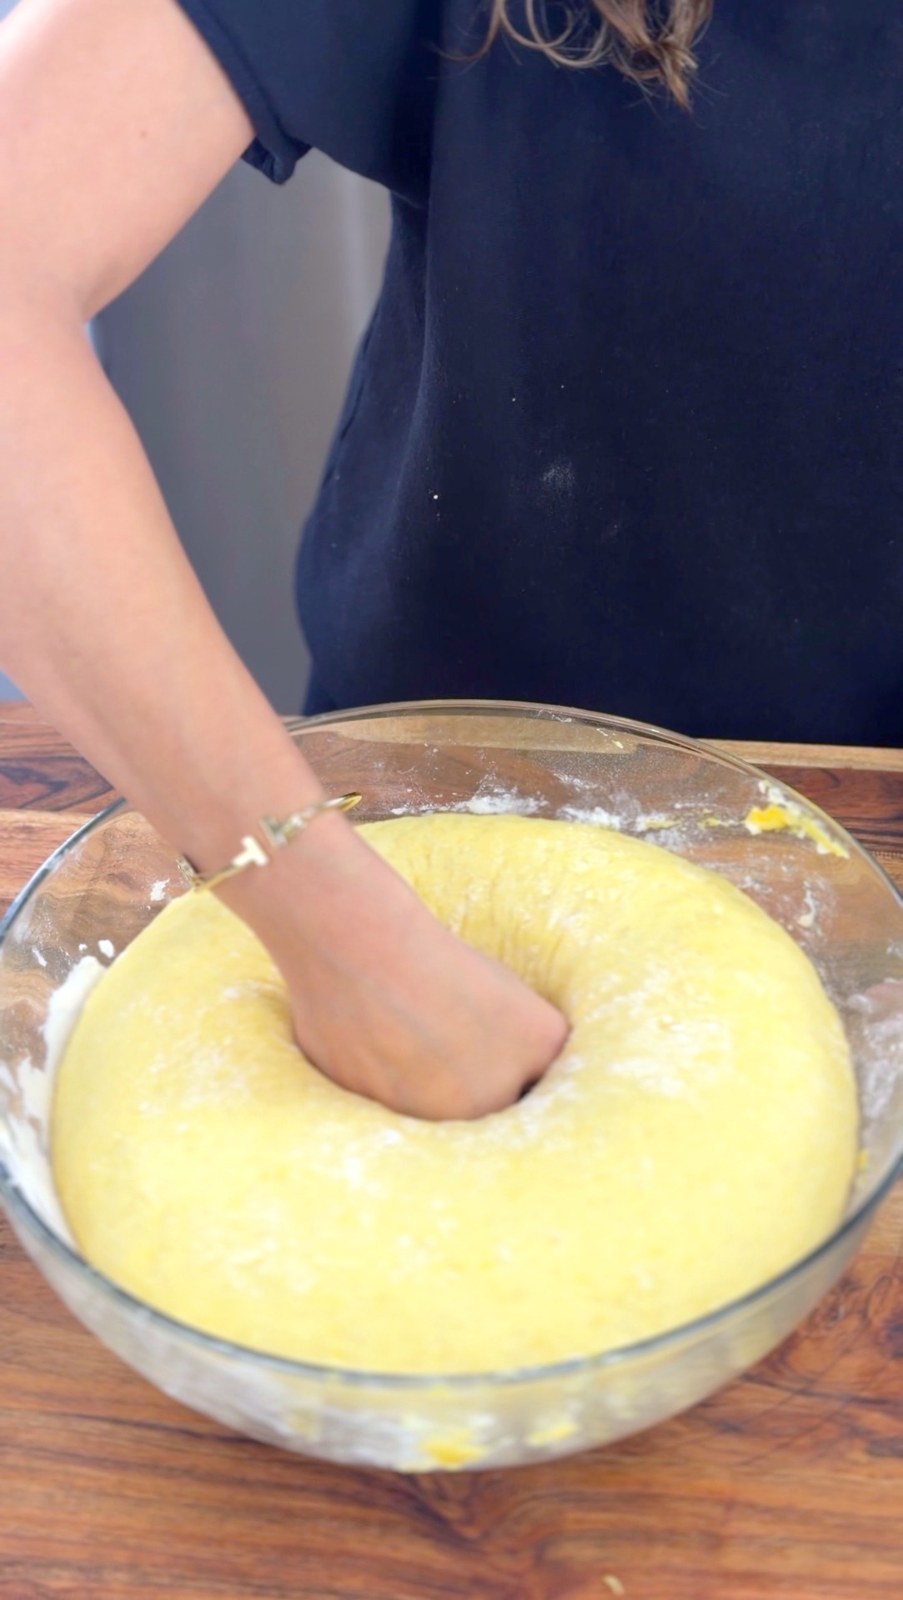
Cover the dough and let it rise until puffy and noticeably increased in size.
- 2
I like using my warm-oven method because it speeds up the rising: gently warm the oven for a short time, then turn it completely off before placing the covered dough inside. The oven should only be comfortably warm — never hot.
Divide and Shape
- 1
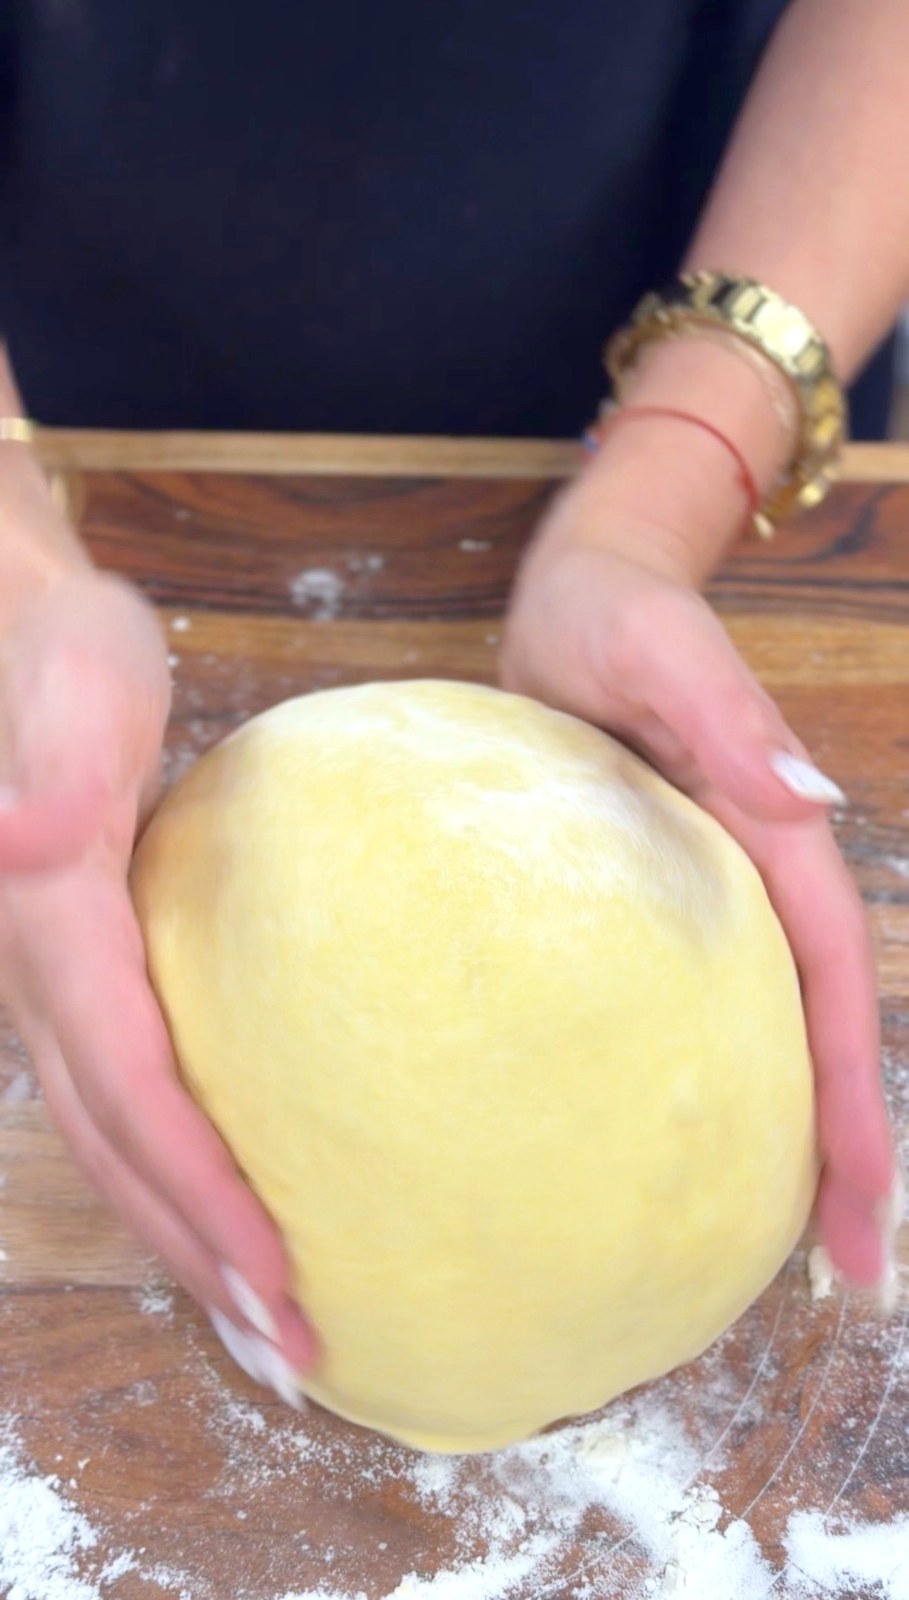
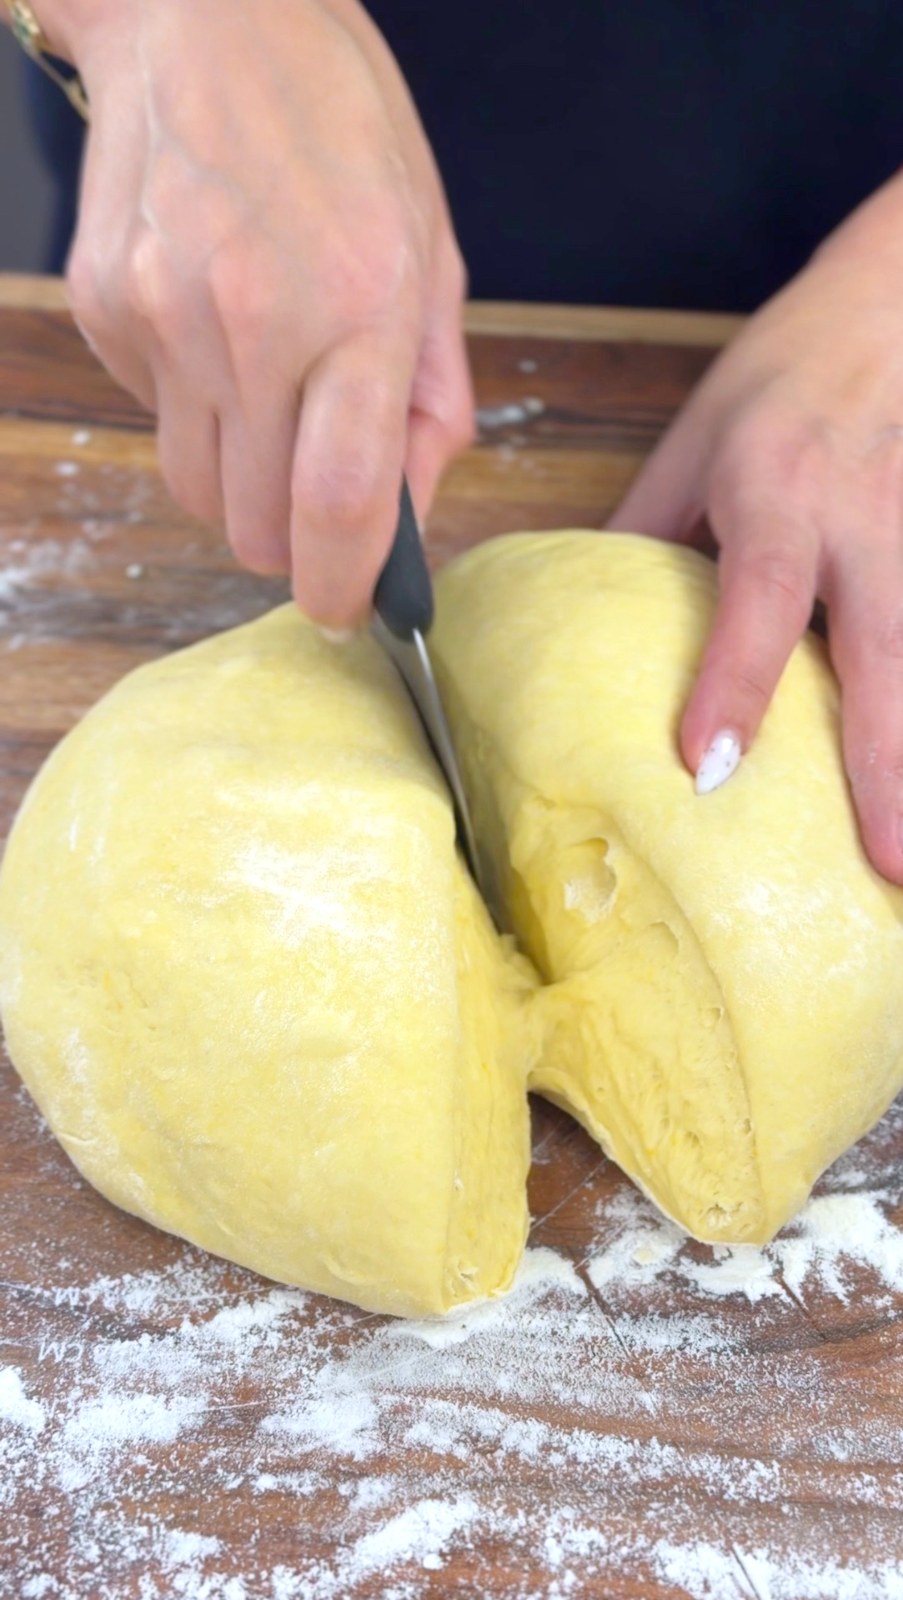
Once the dough has risen, gently transfer it to your work surface and divide it into approximately 10 pieces. For pumpkins about the size of mine, each piece was approximately 126 g.
- 2
I usually divide mine by eye, but if you want all of your pumpkin buns to be nearly identical, weighing the dough pieces makes it much easier.
- 3
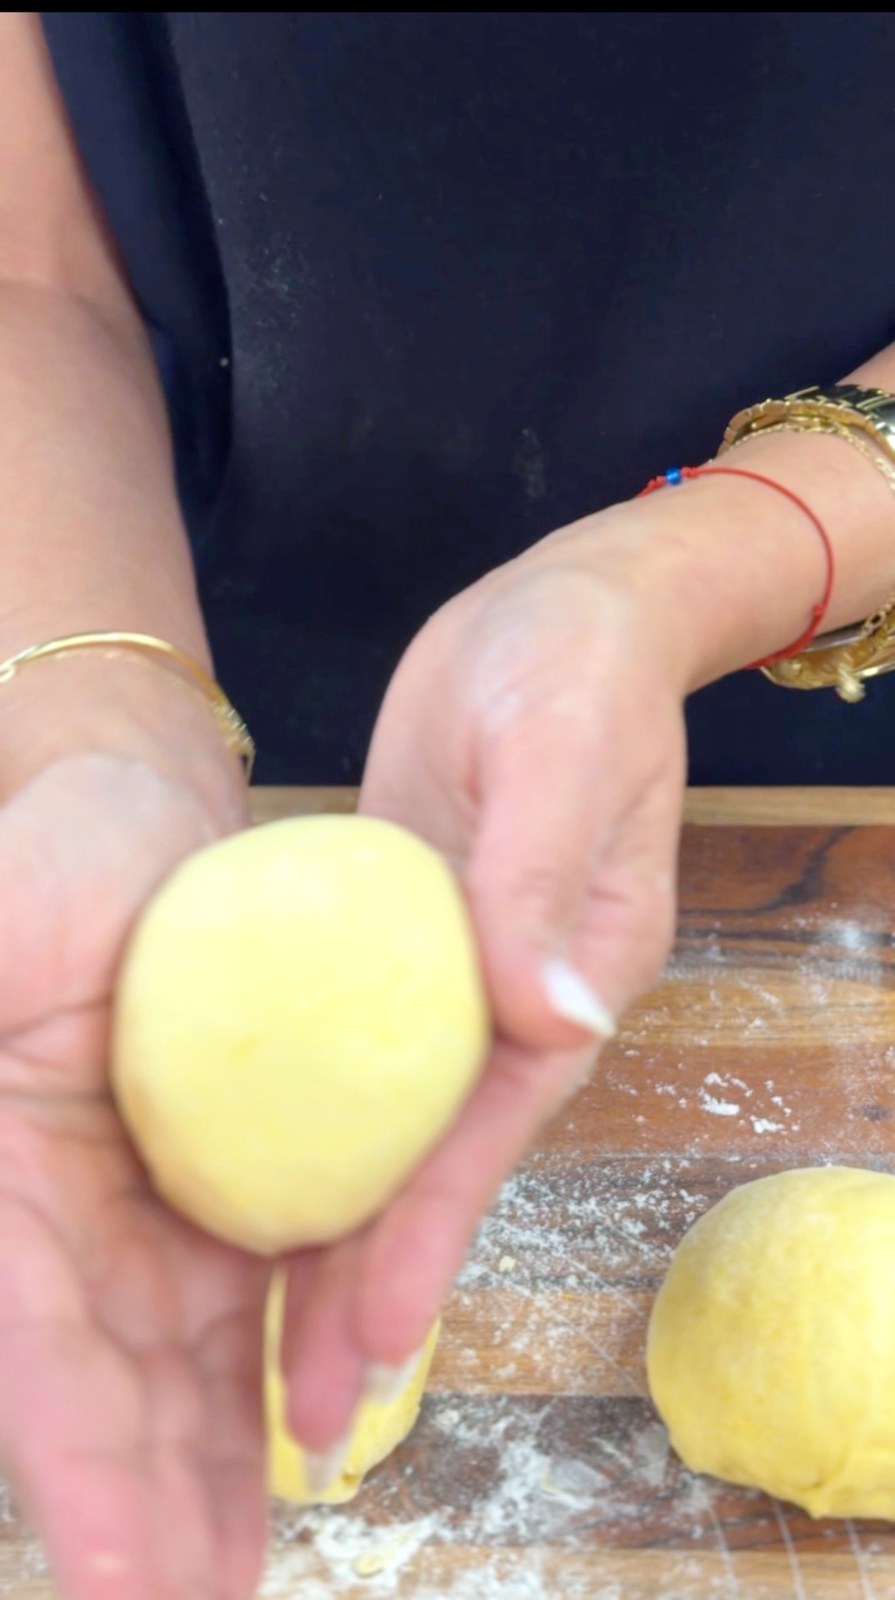
Shape each piece into a smooth round ball, keeping the outside relatively smooth so the finished pumpkins bake evenly.
Tie the Pumpkin Shape
- 1
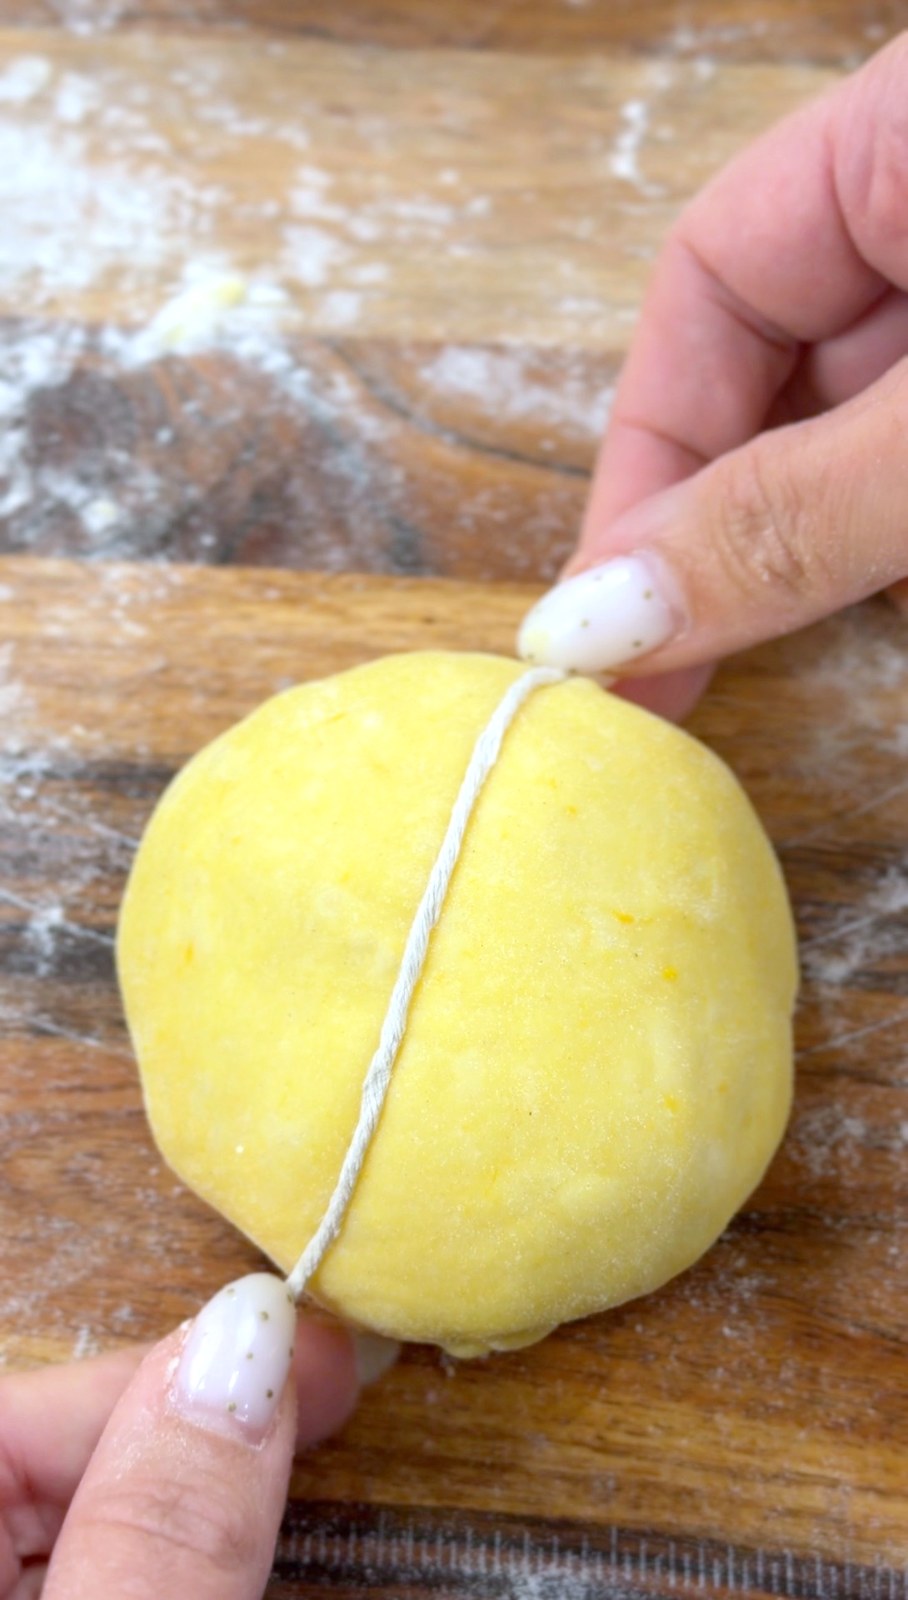
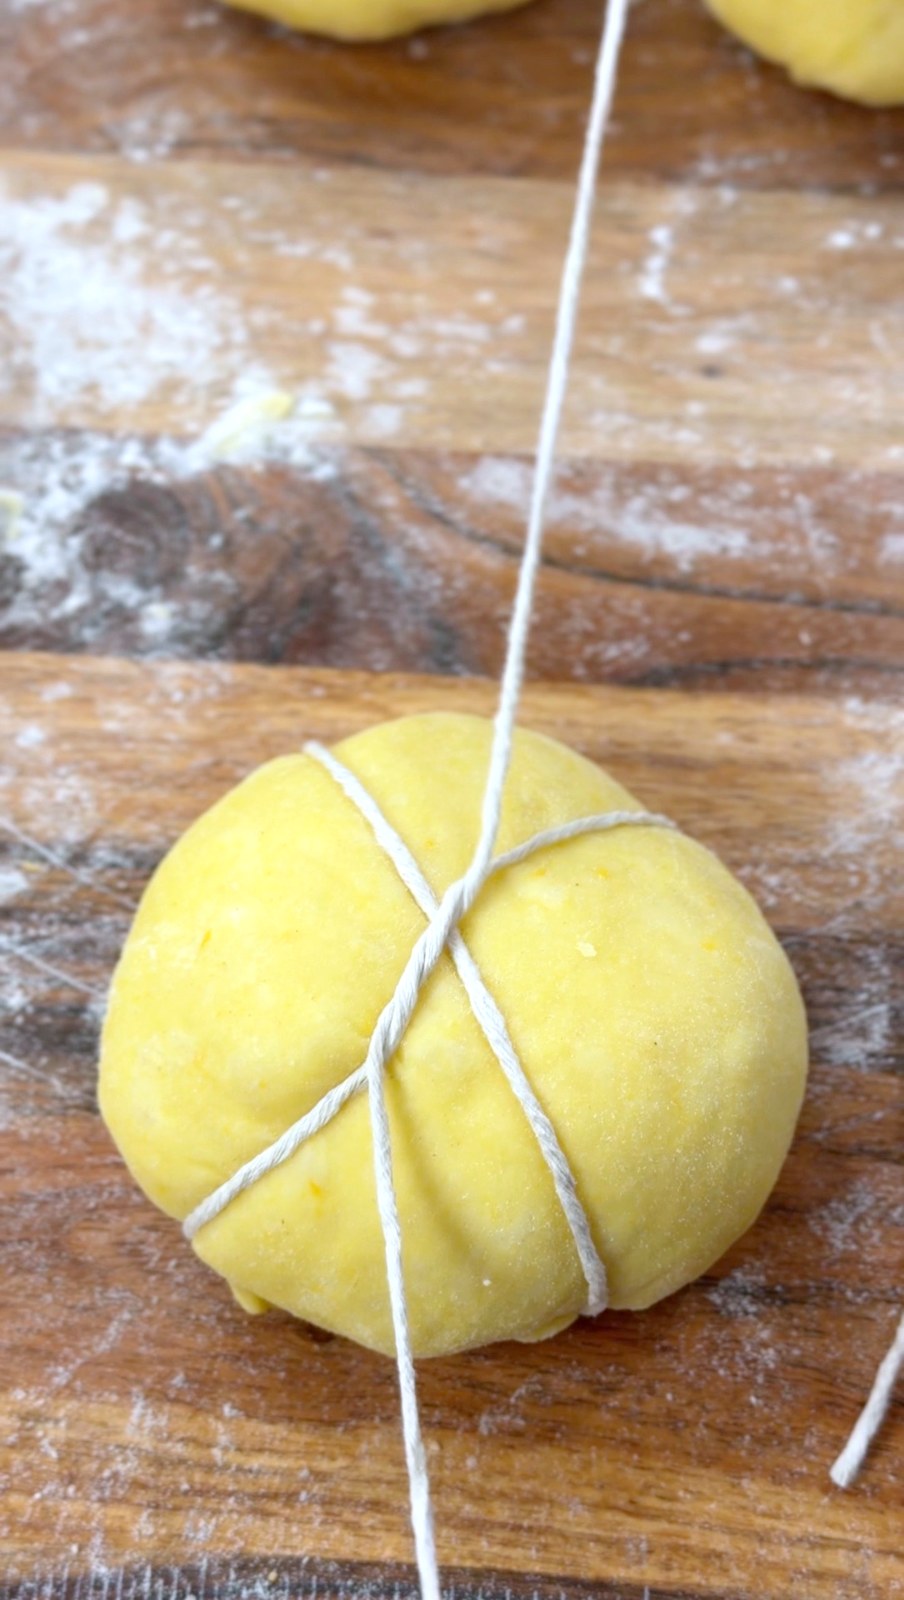
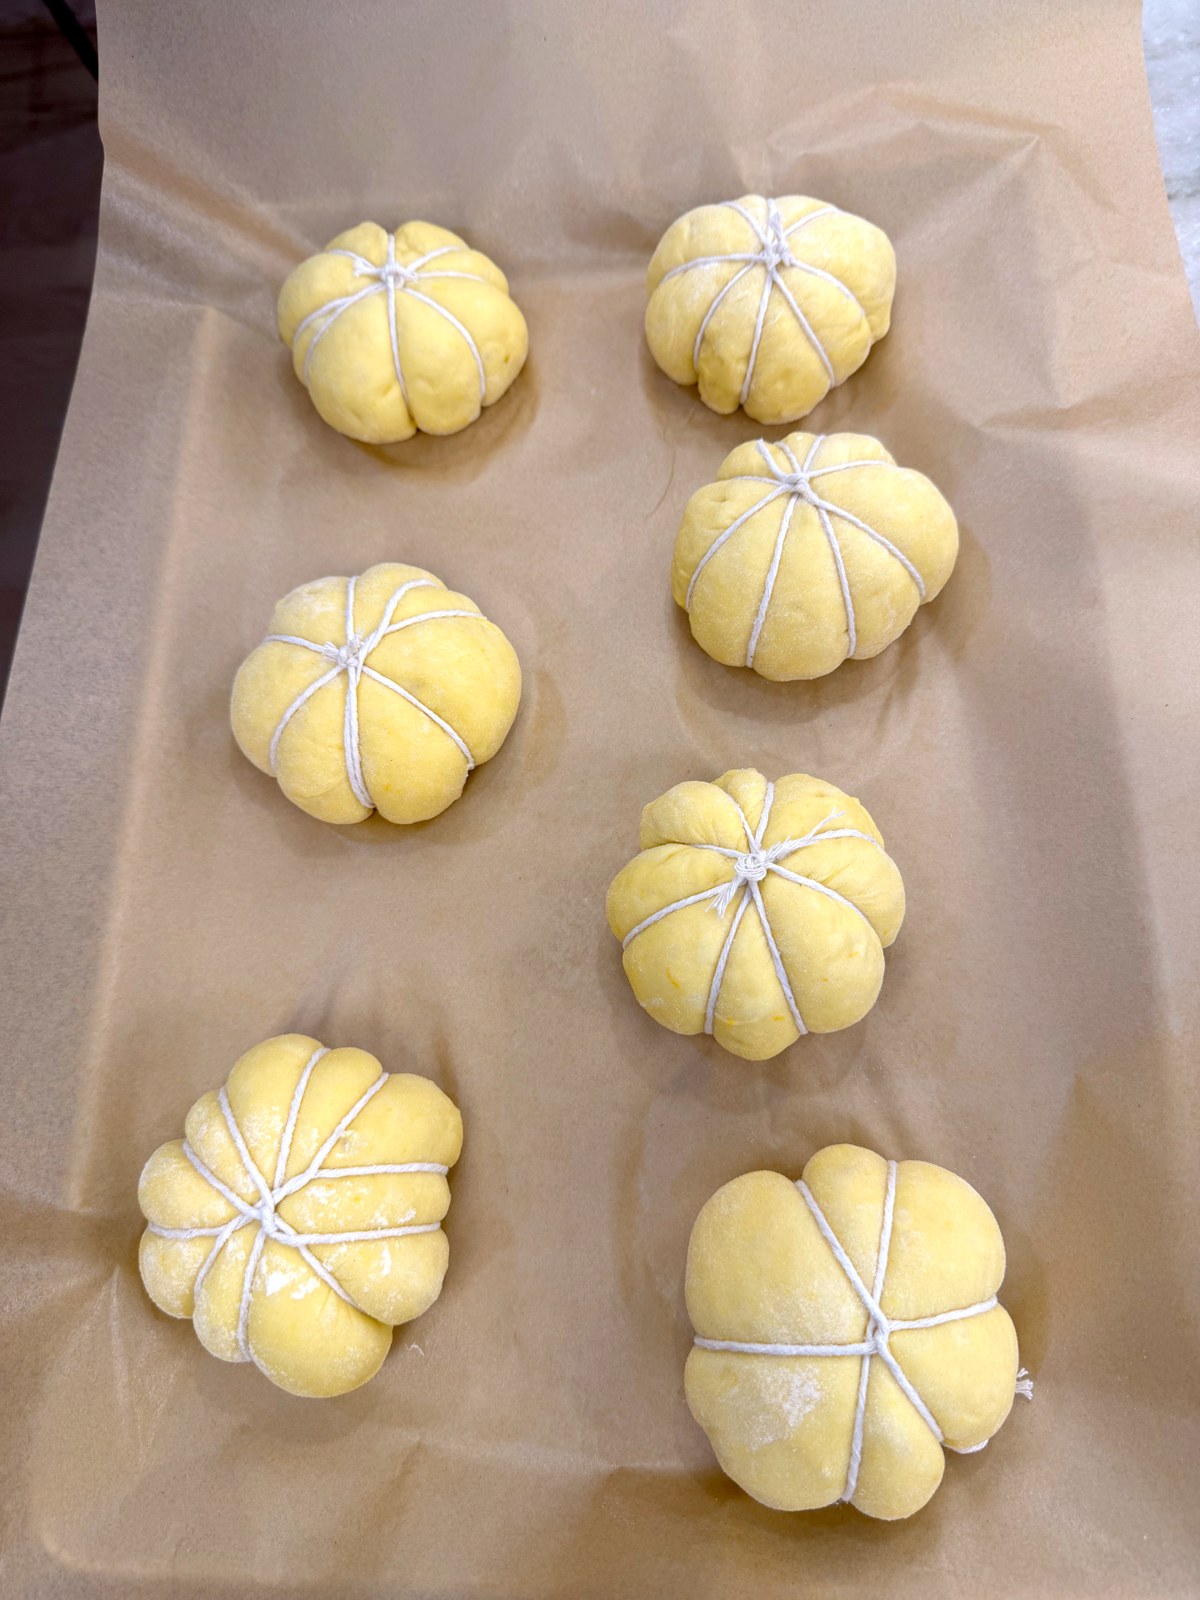
Use food-safe kitchen twine or baker's twine to wrap each dough ball into pumpkin sections, wrapping the twine around the ball several times to create the grooves.
- 2
Do not tie it extremely tightly — the dough still needs room to expand. You want the twine snug enough to create the pumpkin shape, but loose enough to allow the bun to rise and puff in the oven.
Bake
- 1
Shaping and tying all of the pumpkins takes some time, so the first ones will already begin rising again naturally while you work — no long second rise needed.
- 2
Preheat the oven to 350°F. Arrange the pumpkin buns on a baking sheet, leaving enough space between them to expand.
- 3
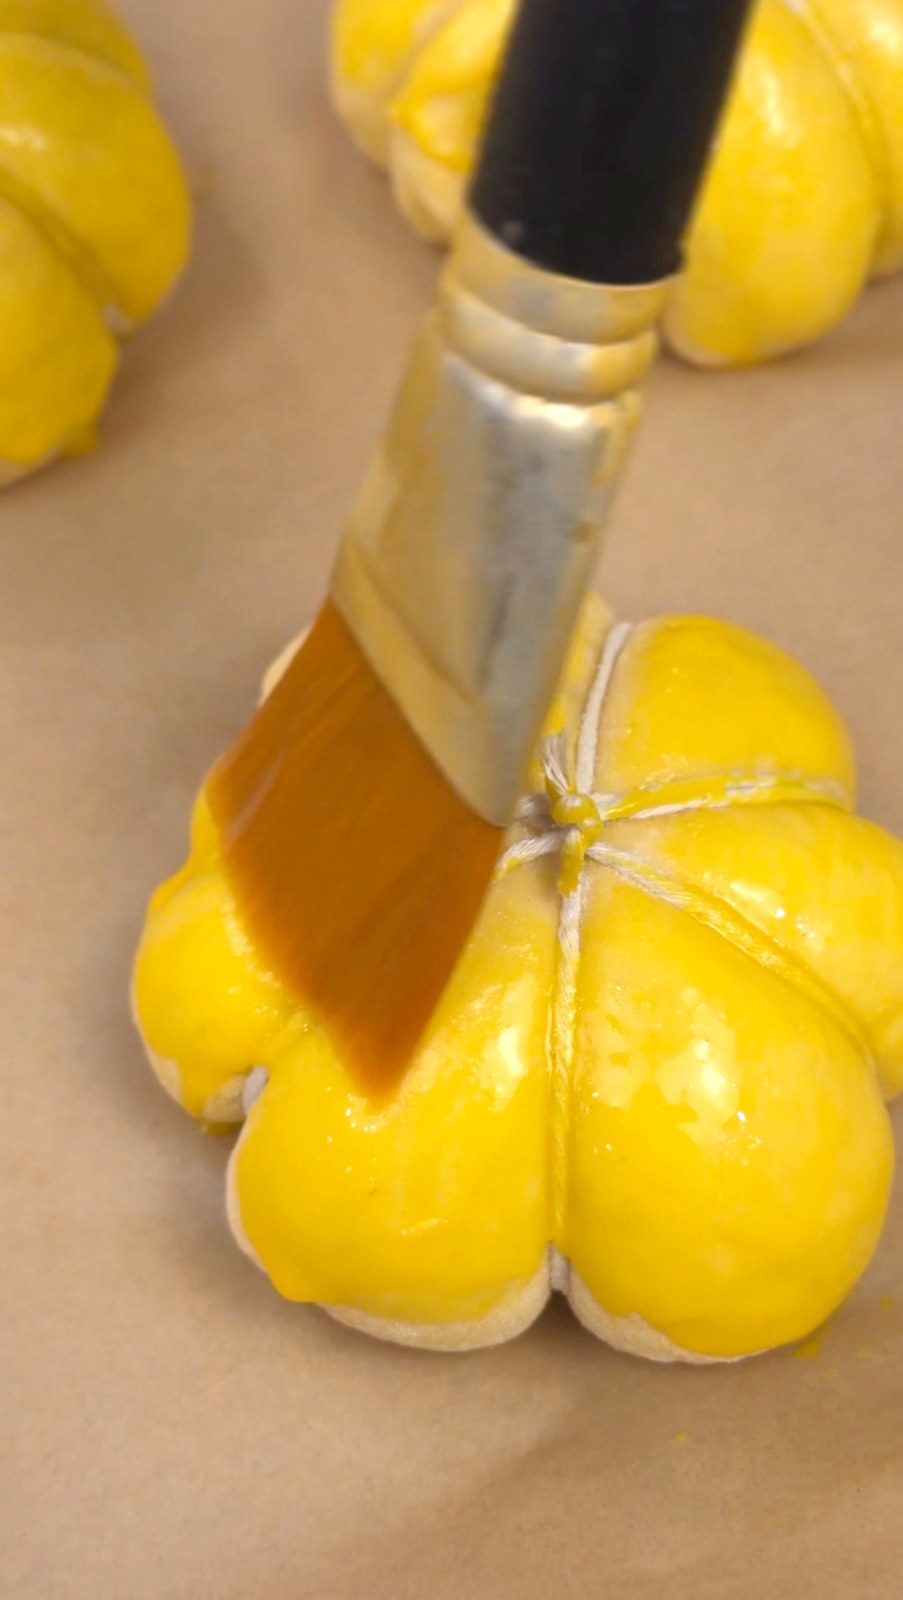
Bake at 350°F until they are beautifully golden and baked through.
Remove the Twine and Add the Stems
- 1
Let the buns cool enough that you can comfortably handle them. Using small scissors, carefully cut the kitchen twine and gently remove each piece of string. Take your time so you do not tear the soft bread.
- 2
For easy stems, break cinnamon sticks into shorter pieces and insert one into the center of each bun.
- 3
For my edible matcha pretzel stems: melt white chocolate and stir in a little matcha powder until green, dip part of each pretzel stick into it, let it set completely, then insert into the center of the bun. Add a small fresh basil leaf beside the stem for an extra little pumpkin detail.
Toti’s Tips
- ✓Use pure pumpkin purée, not pumpkin pie filling — it already contains added sugar and spices.
- ✓If making homemade purée: boil peeled pumpkin pieces until very soft, drain it extremely well, and blend until completely smooth. You want a thick purée, not a watery one. Measure ½ cup for this recipe.
- ✓Add the sifted flour gradually because different flour brands absorb liquid differently. About 550 g worked for me, but let the texture of the dough guide you — it should be soft, not hard like a stiff bread dough.
- ✓For evenly sized pumpkins, weigh approximately 126 g per dough ball. You should get around 10 buns, depending on your final amount of dough.
- ✓Use only food-safe kitchen or baker's twine, and don't tie it too tightly — the dough needs room to expand.
- ✓These buns are lightly sweet, not dessert-sweet. If you prefer them sweeter, add a little more honey or some powdered sugar to the dough.
More photos
Get my free e-book — 7 quick & easy dinners + 3 sweet bonus desserts
The weeknight dinners my kids actually ask for seconds of, plus the sweet treats — with photos from my own kitchen.
Free PDF · Unsubscribe anytime